
The messy hair, the black hoodie, the instantly recognizable silhouette. This is where aesthetic meets curiosity; discover the humor, edits, and small stories that grew from a single image into a shared expression across communities.
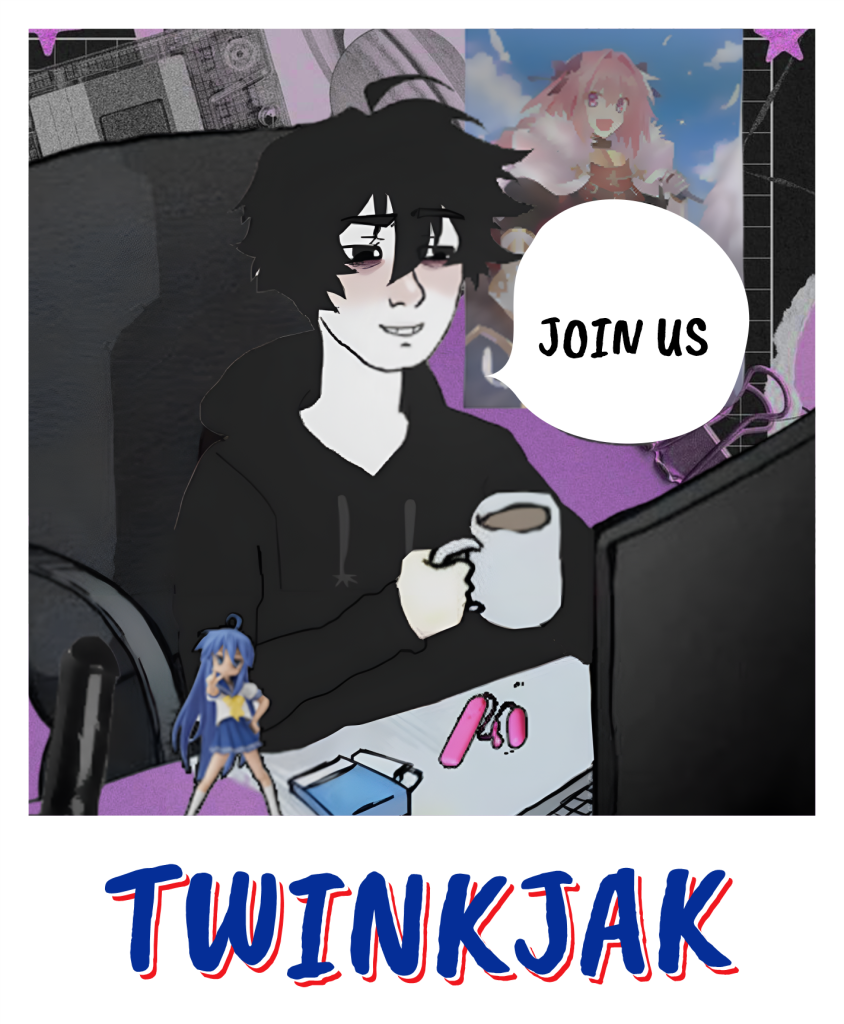
Twinkjak emerged from a post in January 2020 and quickly spread through short comics and social feeds. His messy hair and dark hoodie made him easy to modify and adapt to countless contexts. The character is often used to express soft humor, gentle personality cues, and quick interactions in visual storytelling. The information originates from documented meme history and community usage.

Simple steps to get everything ready directly from your wallet.
1. Open Your Wallet
Start by opening the wallet you normally use. Make sure it's updated so everything runs smoothly.
2. Connect to Your Preferred Network
Choose the network you usually interact with so everything responds instantly without delays.
3. Add the Contract Manually
Paste the contract address into “Add Custom Asset” to make your wallet recognize Twinkjak properly.
4. Refresh and Confirm
Refresh your asset list after adding the contract. The entry should appear instantly and stay visible.
5. Enable Display Options
Turn on display options so the asset stays pinned, organized, and easy to access anytime.
6. Monitor and Manage Freely
Once everything is set, you can monitor, hold, and manage Twinkjak inside your wallet effortlessly.
Twinkjak is frequently remixed to represent countries, communities, or specific personas—proof of how adaptable his design is. Across forums, he appears in humorous edits and paired scenes, making him a flexible component in quick, expressive storytelling.
A simple and transparent breakdown built around a fixed 1B supply, zero tax, and a permanently burned LP base. Designed to keep everything clean, stable, and easy to understand for anyone stepping into the Twinkjak ecosystem.
1
Total Supply — 1B
The entire supply is set at 1 billion from the start, giving everyone a clear picture with no hidden adjustments or unexpected changes over time.
✦
2
Zero Tax
No extra fees on any interaction. Everything moves cleanly without deductions, keeping the experience straightforward and frustration-free.
✦
3
LP Burned
The base liquidity has been burned permanently, creating a foundation that cannot be altered or withdrawn, offering long-term stability.
✦
4
No Additional Minting
There are no extra creations or expansions beyond the original 1B. What exists today is all that will ever exist.
✦
5
Community-Driven Flow
Movement and distribution depend entirely on the community, creating a natural rhythm shaped by real participation instead of forced mechanics.
✦
6
Transparent Structure
All parameters are openly defined from day one, allowing anyone to verify, follow, and understand the structure without relying on complicated explanations.
✦